

ARTICLE & PHOTOS PROVIDED BY LEAH ENGLAND, BELLWETHER DESIGN + BUILD
What to Expect at Every Phase
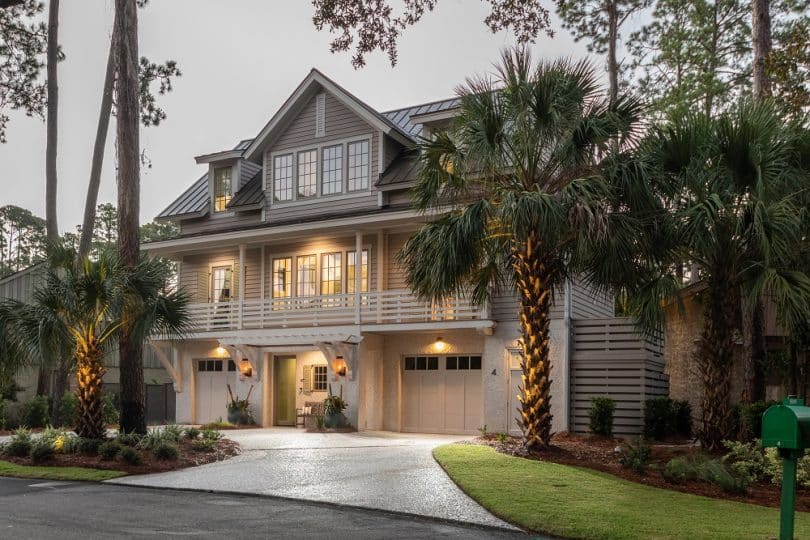
Building a custom home is a lot like creating a fine piece of art — each stage requires patience, precision, and a vision for the final masterpiece. Just as an artist wouldn’t rush through each brushstroke, the construction of your home progresses in phases that deserve the time they need to ensure the best outcome. In this article, I’ll guide you through the typical 12-18 month custom home construction timeline, detailing each phase, how long it typically lasts, and how weather and inspections can impact the schedule. Knowing what to expect at every stage makes the process not only more enjoyable, but something you can truly appreciate as it comes together, step by step.
Clearing and Pre-Foundation
Length of Phase: 8-12 weeks
Weather Dependent:


Inspections and Surveys: Compaction Testing, Temporary Service, Underground Mechanicals Inspections, Form Board Survey and Flood Elevation Certificate
The clearing and pre-foundation stage is a vital first step in home construction, ensuring the land is ready for the foundation. This phase involves site preparation, foundation forming, and underground mechanicals including plumbing, and electrical setup, particularly for slab foundations. Here’s a simplified breakdown:
- Site Clearing and Preparation:
- Clearing the Lot: Trees, rocks, surface organic matter and debris are removed.
- Grading: The land is leveled to prevent drainage issues and foundation instability.
- Soil Testing: In some cases, soil tests are conducted to ensure the foundation is prepped properly to support the foundation.
- Foundation Layout:
- Marking the Layout: Stake for Fill and Hub and Tack Surveys mark the exact foundation height and building corner locations to align with the building plans.
- Sub-base Preparation: Fill dirt is added and compacted to create a stable base for the foundation. Sometimes, stone is needed in the footers to meet compaction requirements.
- Foundation Formwork: A mold (typically made of wood) is built to shape the edges of the slab. It creates a boundary for the poured concrete.
- Rebar (Reinforcing Steel): A grid of rebar is placed within the formwork of the thickened parts of the slab and tied into wire mesh placed over a vapor barrier on top of the compacted fill dirt. This reinforcement helps the concrete withstand tension forces and prevents cracking. The rebar is positioned to ensure the slab is strong enough to handle loads without failure.
- Underground Plumbing and Electrical:
- Plumbing: Pipes for waste and water supply are installed in trenches before the slab or footers are poured. These pipes are pressure-tested to check for leaks.
- Electrical: Temporary electrical service is established. Conduits for wiring are laid beneath the foundation, including power supply lines and service entry.
Foundation Pour:
Length of Phase: 1-2 weeks
Weather Dependent:
Inspections and Surveys: Footing, Core, Floor Strapping
The foundation stage of a building project is crucial because it provides the structural base that supports the entire building. The foundation must be properly designed by a structural engineer to handle the weight of the building and ensure stability against shifting soil, water, and other environmental factors. There are several types of foundations, and two common types in the Lowcountry are the monolithic turned-down slab and the raised pier foundation.
Pouring Monolithic Slabs: Monolithic means the entire slab is poured at once, creating a seamless, solid foundation.
- Turned-down edge refers to the thickened perimeter of the slab that extends below ground, providing extra stability.
- Curing is the process where the concrete hardens over time, ensuring the foundation reaches full strength.
- Finished Slab: Once cured, the formwork is removed, leaving a solid, level base for the building. The slab also acts as the floor.
Raised Pier Foundation: A raised pier foundation uses vertical piers or columns to elevate a building off the ground, which helps with ventilation and accommodates uneven, low, or unstable soil. Here’s the process:
- Excavation for Piers: Holes are dug for the piers, deep enough to reach stable soil or bedrock.
- Building the Piers: Piers made from concrete, masonry, or wood are built to a height that raises the building. They’re reinforced with rebar for strength and spaced evenly to support the structure.
- Pier Caps or Beams: Horizontal beams are placed on top of the piers to create a level base for the floor system.
- Floor Structure Installation: A raised floor system is installed on the piers, allowing for airflow and moisture control.
Framing and Window and Door Installation Phase:
Length of Phase: 6-12 weeks (depending on size and complexity)
Weather Dependent:
Inspections and Surveys: Strapping, Nailing, Rough Framing, and Flashing Inspections
Framing is when the building’s structure—walls, floors, roof, and supports—is built. Here’s what happens in this phase:
- Building the Wall Frames: Wall studs are assembled and attached to the sill plate. These sections are built on the ground and lifted and positioned on the foundation.
- Floor Framing: For multi-story buildings, floor joists, beams and sometimes steel members are installed to support the structure. This includes installing a subfloor material. We prefer AdvanTech because it is more moisture resistant than plywood or OSB.
- Roof Framing: Trusses or rafters are installed to form the roof. The choice between the two depends on the design and contractor preference.
- Bracing and Structural Supports: Temporary braces are added to keep everything secure while the building is going up. They’re removed once the structure is stable.
- Sheathing Installation: Plywood, OSB, or Zip Wall is attached to the walls and roof to provide rigidity, forming the building’s outer shell before waterproofing and siding are added.
- Moisture and wind protection house wrap is installed on the structure in the form of Tyvek, felt paper, etc.
- Interior blocking is added for shelving, cabinetry, bath accessories, TVs and heavy art pieces.
Once the building is framed, it’s time to install windows and doors, which are key for both function and style. Here’s the process:
- Measuring and Preparing Openings: The window and door openings are checked for size and alignment to ensure a perfect fit.
- Window and Door Placement: Windows and doors are brought to the site and placed in the openings. Some are pre-hung, while others need assembly. Specialty ones may require authorized installers.
- Securing Windows and Doors: Windows and doors are secured using screws, nails, or fasteners, with shims added for a level, snug fit.
- Sealing and Insulation: Caulking or foam seals the edges to prevent leaks, and flashing is applied to direct water away from the openings.
Exterior Trim and Roofing Phases:
Length of Phase: 3-6 weeks (often in tandem with MEPs, see phase below)
Weather Dependent:
Inspections and Affidavits: Underlayment and Roofing Affidavits
These phases ensure the building is weatherproof, structurally sound, and aesthetically pleasing. Here’s a list of tasks in this phase:
Exterior Trim:
- Trim Installation: Carpenters install trim around windows, doors, corners, and the roofline, including features like fascia boards and soffits.
- Aesthetic and Protective Details: Decorative elements, such as shutters and siding accents, are added for style and protection.
- Additional Features: If shown on the plan, decorative vents, brackets, and paneling may also be added for extra appeal.
- Exterior Stain or Paint: Paint occurs ideally after roofing underlayment but before shingles or metal to avoid overspray.
Roofing:
- Underlayment: A moisture-resistant layer is added to the roof decking to protect the structure.
- Roofing Material: Asphalt shingles, metal, or tiles are applied, starting from the bottom to ensure water flows off.
- Flashing and Sealing: Flashing is installed around roof penetrations to prevent leaks, along with sealants for waterproofing.
- Ridge Cap and Finishing: Ridge caps and other final touches, like venting, are added to complete the roof.

MEP Phase: (Mechanicals, Electrical, Plumbing)
Length of Phase: 4-6 weeks (often in tandem with Exterior Trim)
Weather Dependent:
Inspections and Affidavits: Rough In Framing, Plumbing, Electrical and HVAC
The MEP phase focuses on installing the mechanical, electrical, and plumbing systems that make the building functional. This phase has highly detailed inspections. Here’s a quick look at each task:
- Mechanical: HVAC systems, including ductwork, pipes, and handlers, are installed to regulate temperature and air quality.
- Electrical and AV: Electricians run wires, set up panels, outlets, and switches, providing the infrastructure for power and AV needs throughout the building.
- Plumbing: Pipes for water supply and drainage are laid for sinks, toilets, showers, and other fixtures, along with vents for proper drainage.
Planning and coordination are key to ensuring all systems work well together and per specification. It’s helpful to discuss all systems in this phase, including ceiling details, like coffered ceilings or beams, during a MEP walkthrough with your builder to avoid issues later.
Insulation and Drywall Phase:
Length of Phase: 3-6 weeks
Weather Dependent:
Inspections and Affidavits: Insulation, Insulation Certificates, Blower Door Tests and other energy audits
This phase makes the building energy-efficient, comfortable, and ready for finishing touches.
Insulation:
- Roof Deck Foam: Spray foam seals the roof deck, preventing leaks and keeping temperatures stable.
- Wall Batt Insulation: Fiberglass or mineral wool is placed between studs to reduce heat transfer and sound. Full foam with a fresh air intake in an optional upgrade.
- Energy Audits: Tests like the blower door test and thermal imaging help identify air leaks and insulation gaps.
Drywall:
- Hanging Drywall: Sheets are secured to the walls and ceiling.
- Taping and Mudding: Joints are covered with tape and joint compound to smooth seams.
- Sanding: The surface is smoothed for a seamless finish.
- Finishing Touches: Corners and edges are refined, and any imperfections are filled.
- Priming: Priming the drywall with paint begins is in preparation for interior trim install and the color paint coats later down the line.
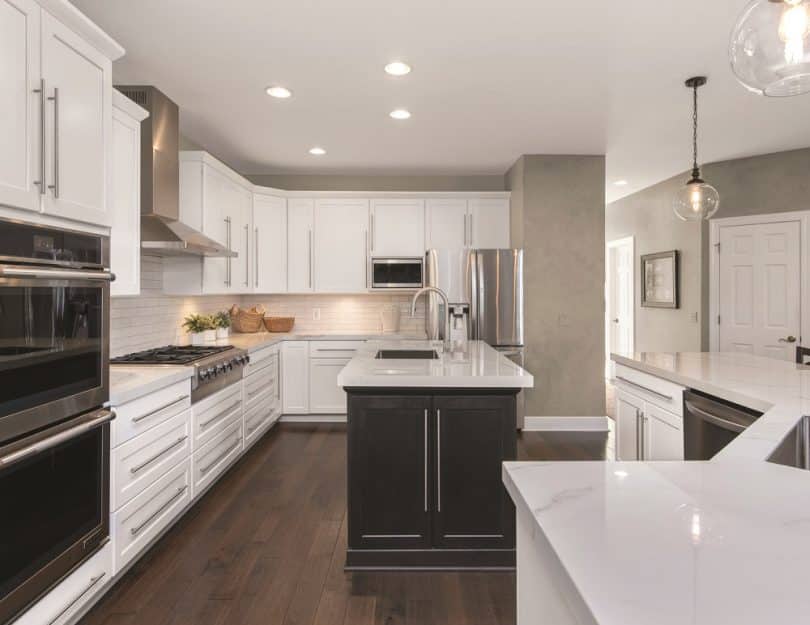
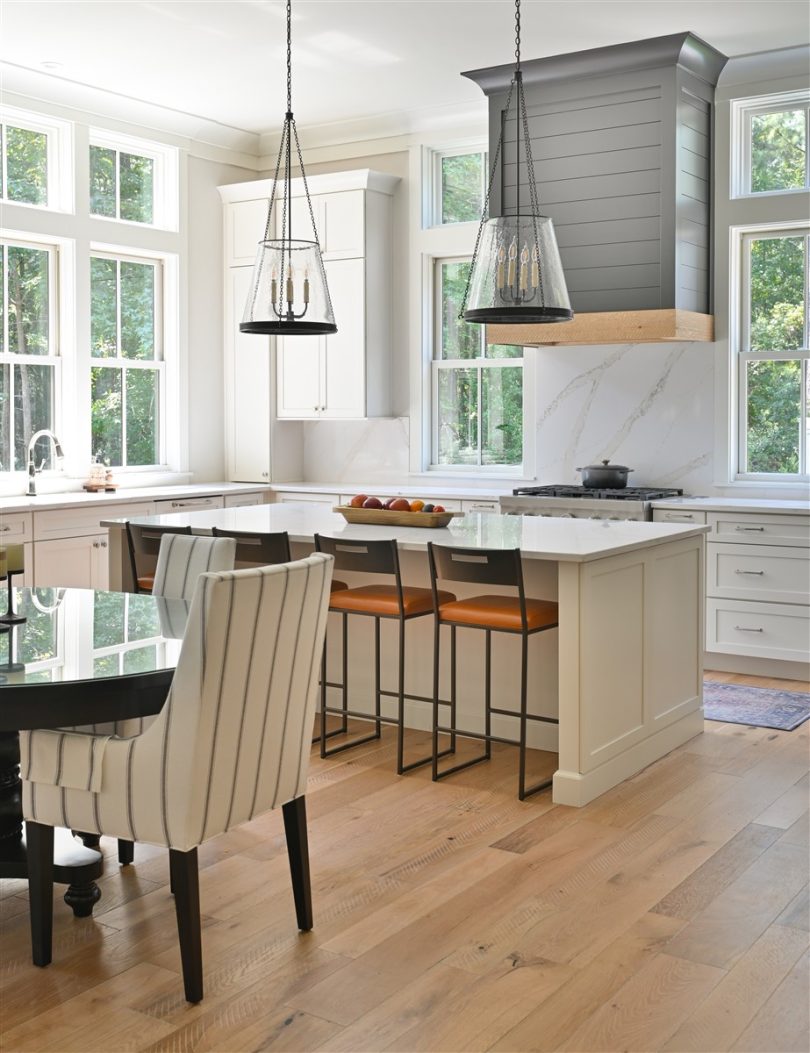
Interior Finish Phase:
Length of Phase: 3-6 months
Weather Dependent:
Inspections and Affidavits: Permanent Service, Septic or Sewer Approvals
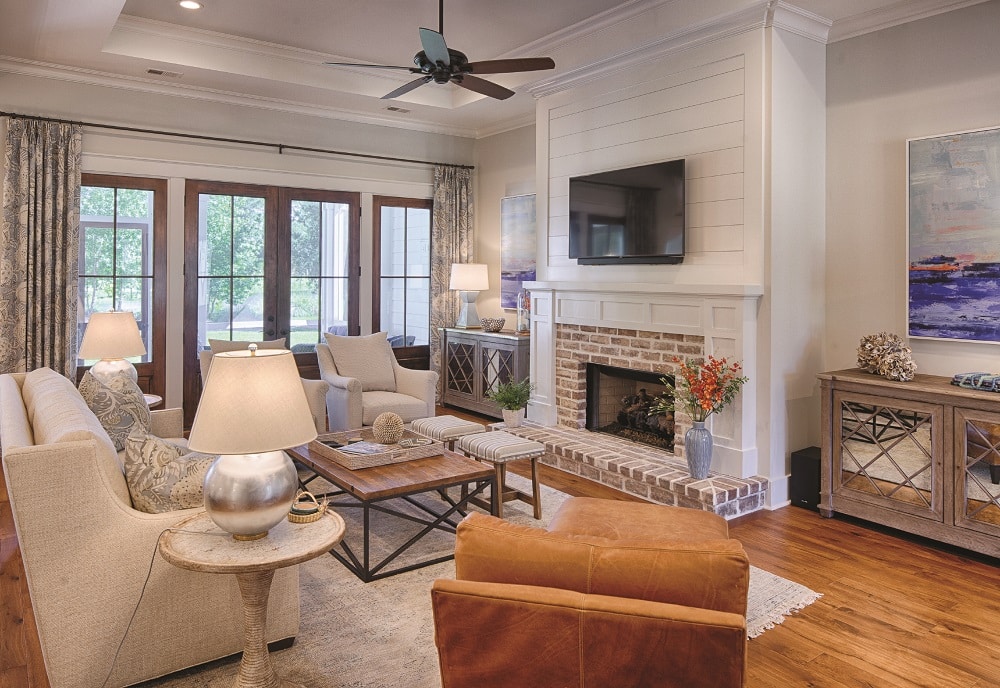
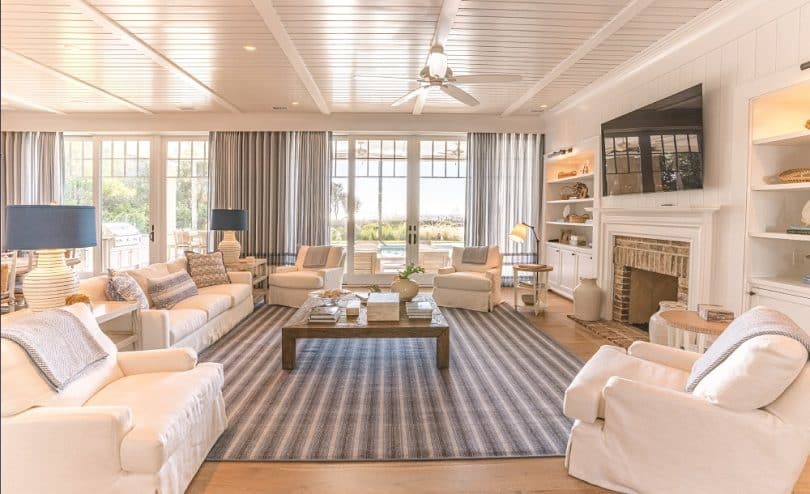
The interior finish phase adds the final touches, making the home functional and ready for occupancy. It should not be rushed, as the tasks requiring the finest detail are executed during this phase. This timeline varies greatly depending on the amount of detail specified for a home. Here’s a a digest of key tasks in this phase:
- Trim Installation: Trim is added around windows, doors, and walls, giving the home a polished look. This includes baseboards, casing, and optional crown molding.
- Tile Installation: Tiles are laid in kitchens, bathrooms, and entryways. Grout is applied to ensure a smooth, durable surface.
- Flooring Installation: Hardwood, laminate, carpet, or vinyl are installed throughout the house, and baseboards or trim are added along edges.
- Cabinetry Installation: Kitchen and bathroom cabinets are installed, along with any additional storage units.
- Interior Paint: Walls and ceilings are primed and painted. Trim, doors, and baseboards are also painted or stained.
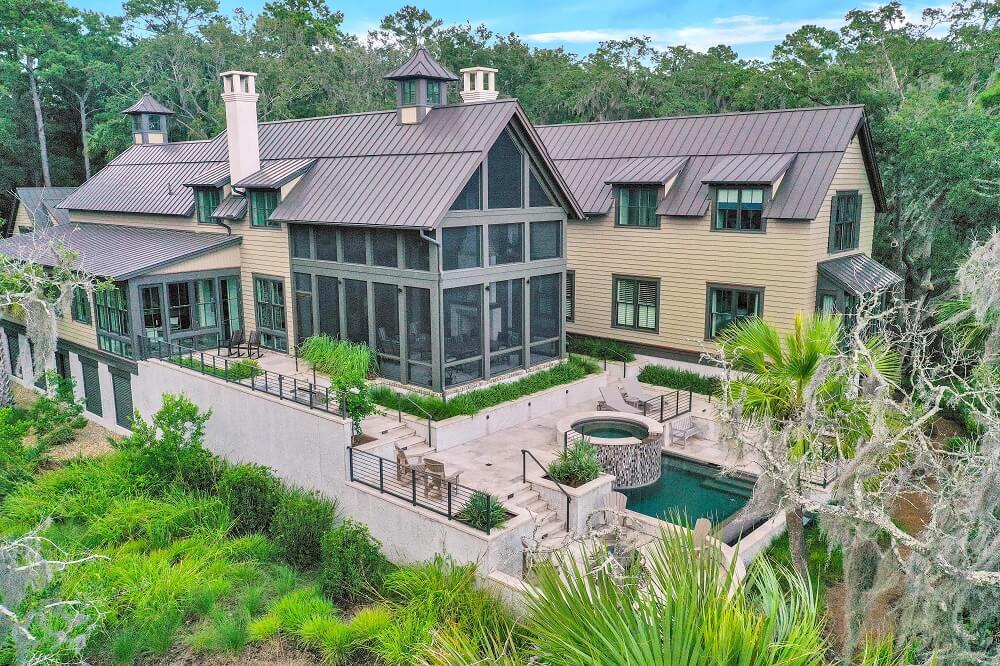
Exterior Improvements
Length of Phase: 6-8 weeks
Weather Dependent:
Inspections and Affidavits: Some communities will require landscaping and driveway form inspections prior to installation.
The exterior improvements phase ensures a home’s outdoor spaces are functional, beautiful, and ready for use. Many of these items are completed at the same time as the Interior Finish Phase. Here’s a quick look at what it involves:
- Final Grading: The land is sloped away from the foundation to ensure proper drainage and prevent water damage.
- Septic and Propane Tanks: For homes in rural areas, septic systems and buried propane tanks are installed to manage waste and fuel.
- Underground Wiring: Electrical and low-voltage wiring for outdoor lighting, security, and irrigation systems are installed out of sight.
- Drainage and Irrigation: Effective drainage systems, like French drains and catch basins, are set up to direct water away from the home, while irrigation systems keep landscaping healthy.
- Driveways, Walkways, and Hardscapes: Driveways, patios, retaining walls, and walkways are built using durable materials for both function and curb appeal.
- Landscaping: Plants, trees, flowers, and grass are planted to create a welcoming and vibrant exterior.
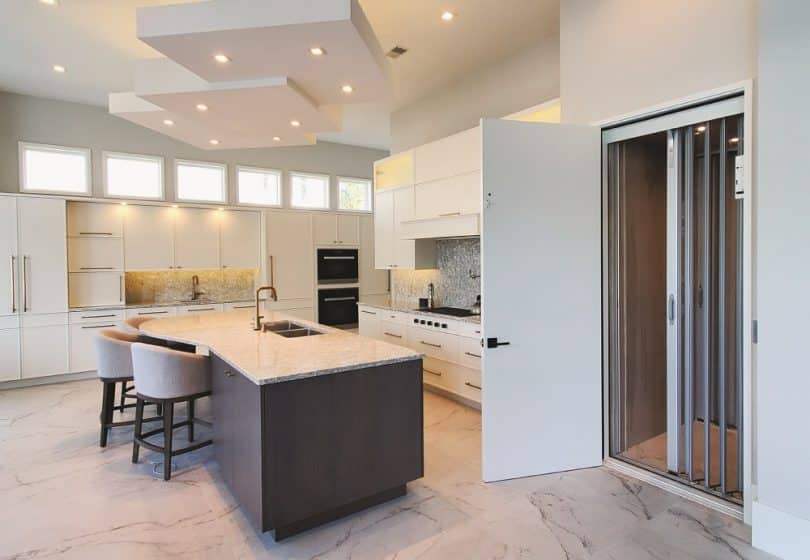
Trim-Out Phase
Length of Phase: 2-4 weeks
Weather Dependent:
Inspections and Affidavits: As Built Surveys and Final Elevation Certificate
The trim-out phase is the final step in getting a home ready for move-in. It focuses on finishing touches that make the home functional and visually complete, like installing countertops, plumbing fixtures, AV systems, and electrical components.
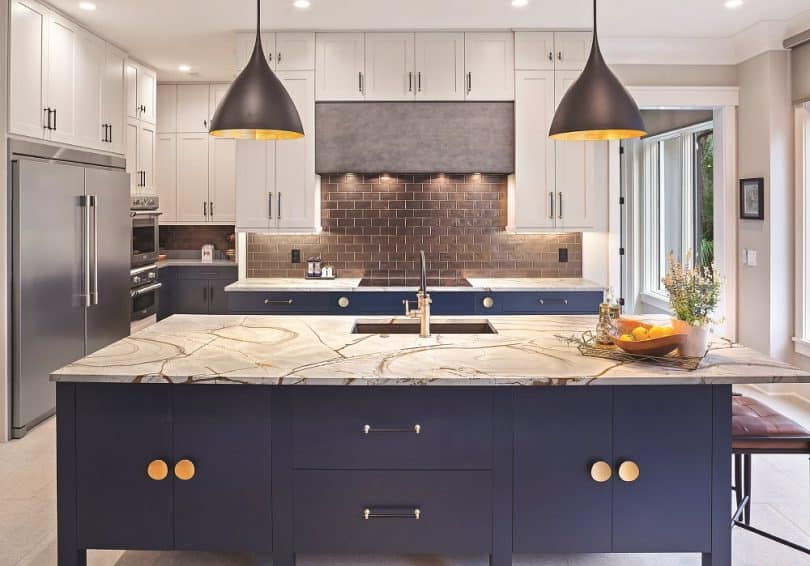
- Countertop Installation: Countertops, such as granite or quartz, are carefully placed on cabinets. They are measured, cut to fit, and secured with adhesive. Materials may also be sealed to prevent stains.
- Plumbing Installation: Plumbing fixtures like sinks, faucets, toilets, and dishwashers are installed and connected. Afterward, the entire plumbing system is tested for leaks and efficiency.
- Audio/Visual (AV) System Installation: AV equipment, including speakers, TVs, and projectors, is installed. Smart home systems and networking setups are also connected during this phase.
- Electrical and Appliance Installation: Lighting fixtures, outlets, and switches are connected. Smart home devices like thermostats and security cameras are installed, and the electrical system is tested for safety and functionality. Appliances are installed.
- HVAC units and supply and return covers are installed, Generators are also set if applicable.
Make Ready for Delivery
Length of Phase: 2-4 weeks
Weather Dependent:
Inspections and Affidavits: Final Inspections, or Certificate of Occupancy Inspection, Community Compliance Inspections
The Make Ready for Delivery phase is the final step in preparing a home for move-in. It ensures everything works, all punch list items are addressed, and the house is cleaned and polished for the new owners. Here’s what happens:
- System Testing: All systems—plumbing, electrical, HVAC, and appliances—are tested for functionality, including faucets, outlets, light fixtures, thermostats, and built-in appliances.
- Punch List Creation and Completion: A punch list is made between client and builder of any final adjustments or repairs. The builder addresses small issues like cosmetic fixes, faulty outlets, or missing fixtures.
- Final Clean: The home is thoroughly cleaned, including dusting, floor cleaning, window washing, and deep cleaning the kitchen and bathrooms, ensuring the house is fresh and move-in ready.
- Power-Washing: The home’s exterior, including siding, driveways, and patios, is power-washed to remove construction debris and enhance curb appeal.
- Final Municipality Inspection or Certificate of Occupancy: A final inspection ensures all systems are functioning properly and the quality meets expectations and the home is safe to live in. The municipality or county provides a Certificate of Occupancy, and members of the community review the home to ensure compliance.
- If you have a construction loan, you’ll close out the construction loan with a copy of the CO, your as-built and final elevation certificates, and the paid final draw to your builder.
Building your custom home is an exciting journey, and while it may take time, each phase is a vital part of creating something truly special. By understanding the timeline and the key activities in each stage, you can feel confident and prepared throughout the process. Remember, just like crafting a beautiful painting or assembling a complex puzzle, every detail matters and takes time to perfect. With patience, communication, and a clear understanding of what to expect, you’ll be able to enjoy the experience and look forward to the moment when you step into your completed home — a space that reflects your vision and hard work.